Restoring a $20 Wooden Moving Fillister Plane.

I’ve Always wanted a Moving Fillister Plane (Filletster)

I Think what fascinates me with an antique, like this moving fillister plane, is that there is always a story behind it. When you don’t know what that story is but you see the wear and tear, you know there was a journey. You start to add up the clues of how it got to the state its in. You start to wonder what it’s seen, what it’s heard, what it’s done.

I’ll have video over on my youtube channel of this once it’s up or just check it out here!

*****************************

Yes I know I call it a ‘fillister’ plane and some call it a filletster plane. In reality, I would call it a ‘rebbate plane’ but any which way it’s a sash plane. If you google fillister you get mostly photos of the wooden versions. If you google filletster you get the stanley No.78.
Still, I went with the popular woodworking version from this Chris Swartz article: http://www.popularwoodworking.com/techniques/joinery/essential-joinery-plane-the-moving-fillister

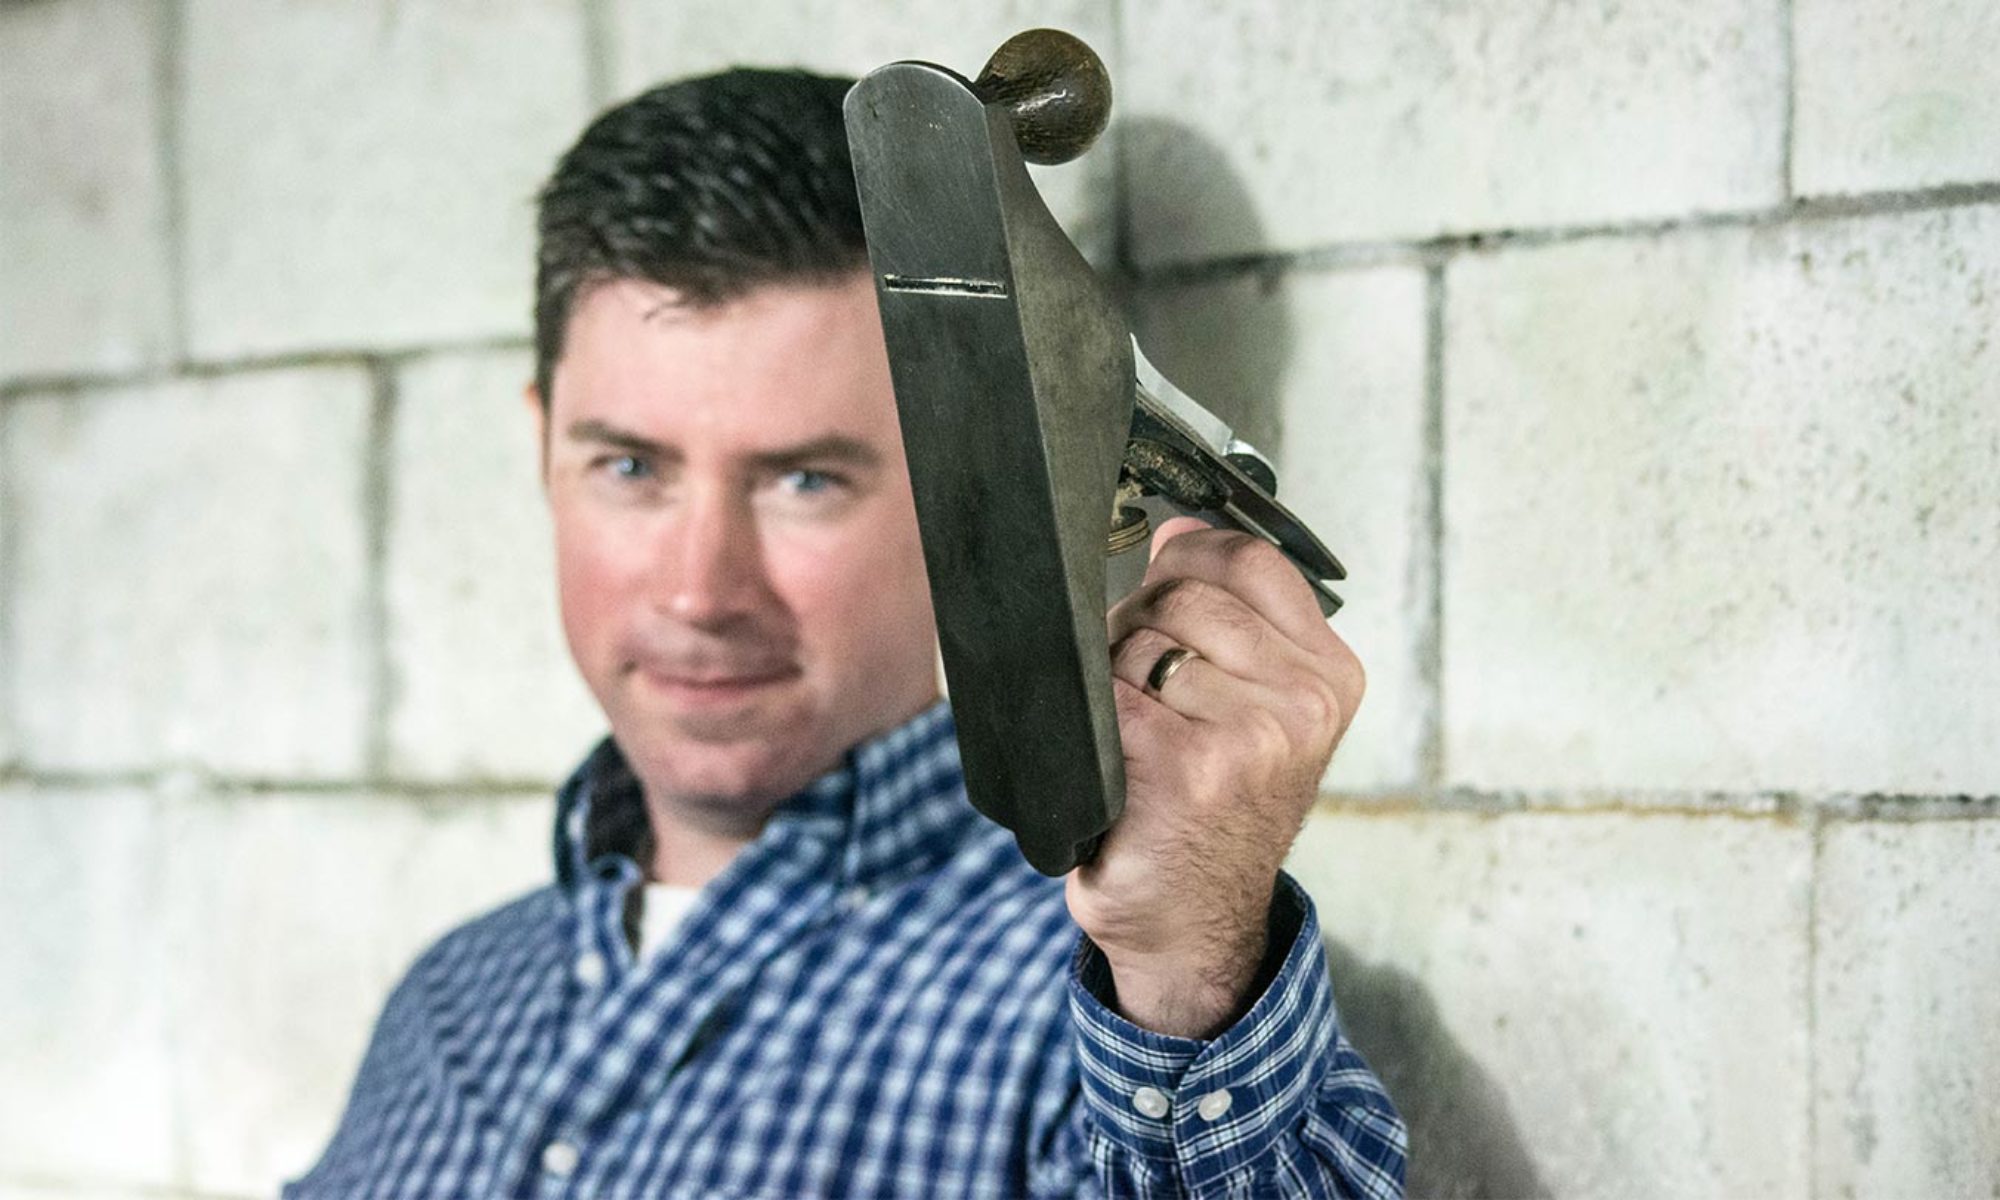
The hand plane I have chosen.

moving fillister untouched

I had a choice of a rather clean, almost mint, moving fillister plane and this one. I didn’t make the choice because of the 100 dollar price difference. I made the choice because of the character this one had. I saw that it was damaged but I also recognized that it was repaired more than a couple times. It was never the best fillister plane but whoever owned it sure did all they could to keep it usable. My goal is not just to have a usable plane but also help it continue its story. I have no intention of losing the patina that tells that story.

It’s time to taking her apart


The fence has a crack in the middle which the previous owner screwed tight from the side.

fence screw removed

I’m 100% sure that the depth stop is also a fix for what was probably a brass one. Time has left it pitted but I’m sure it’ll function just fine.

depth stop removed

The adjustment screw and carriage block were both removed with very little effort.

depth screw removed

The boxing is broken in a few spots where it was glued back in place. There is a tiny screw in the boxing just at the side of the mouth. The wood is so stripped it isn’t holding anything anymore.

With a broken wedge, the nicker proved the hardest part to remove. The wedge was loose and would wiggle but there was nothing left to hold onto. Eventually accepting that I would have to replace this wedge I used pliers to remove it.

nicker wedge removed

The nicker blade was bent side-to-side wedging itself in the mortise.  I could tap it a little bit forward but found using a reversed nail head on the blade worked wonderful. This would really need to be corrected.

nail head to remove nicker


Cleaning the parts

The metal was cleaned with a vinegar /water mixture for abut 8 hours.  I would lightly scrub the parts with a brass brush to loosen dirt and allow the solution to reach more of the metal.  Wash your parts with water after this to stop the reaction and then quickly cover them with 3-in-1 oil to prevent any oxidation.

metal cleaning

The wood was cleaned a few times with mineral turps (mineral spirits in the USA). I didn’t take the brass guides in the fence out as it proved to be too hard so I brass brushed them in place. I would like to note the patina left by this process versus what you will see with the vinegar/water solution on the other parts.  If you are looking for a show piece or wanted to sell an old tool like this – this is the way to move the price up!

cleaning the parts

I re-finished it with about 4 coats of boiled linseed oil. Left on for 15 minutes each and then wiped off.   ‘linseed’ oil was used a lot by the old masters of oil painting as part of their ‘mediums’ used to glaze paint on their masterpieces.  It causes light to refract between the layers before finally bouncing back to your eye.  It’s a very simple step that adds a lot of richness to anything it’s added to. ‘Boiled’ linseed oil dries much faster which makes everyone like it more (artists would never use it). You just really do need to be wary of the rags you use to apply it. It can self-combust so application rags should be soaked in water overnight afterward.

boil linseed oil application


Fixing it up

I used the old wedge as a template and continued the lines out on a scrap piece of hardwood.  I shaped the wedge so it had the cove it in to help remove it as well as make it look more authentic.  I’m not sure of the species of this wood,  I made it from a hardwood teaspoon display I got from a thrift store. An excellent source of wood like this.

new wedge

I used the vinegar/steel wool trick to darken it.  This got the tone much closer to the body of the plane but it was still too clean so from this point on if you have dirty fingers from cleaning or sharpening metal you wipe them off on the piece before cleaning your hands.  That’s how the rest of the plane got to be like that!

dirty the wedge

I used a small nail and slowly filled the hole walls in with epoxy so the threads would again have something to bite on to.  I didn’t flood the hole with epoxy. I just slowly added it to the walls of the hole. I could have just removed this screw and let the plane be without but it added character and showed the extent the previous owner went to to keep the plane working.  This ended up working great!

tiny hole on boxing

I also forced some epoxy into the crack on the fence though this probably wasn’t needed as the screw was doing it’s job well. My clamping forced the fence crooked so I would need to plane it’s surfaces a couple more times.

Fixing the metal parts

I rounding out the corners of the rear of the depth stop since it was now digging into the side face.  Lightly tapping the blades will partially correct the bending that has happened from the years of resetting them. I’m pretty sure some of these kinks were the way the previous owner straightened the edge to the bottom.  I get it, sharpening a skew is not easy but there is a point where you need to restore it.  Of course this would come back to bite me too!

I had not run across any nickers being sharpened like this one had.  I still can’t see how it got to have this step in it. Unless they were sharpening it in place after the wedge broke.

oldknickershape

I began to reshape it into the diamond shape I wanted.   This was done with metal files, small diamond files and eventually my sharpening stones. I’m not sure this is a great idea but I’m doing it anyways.

newknickershape

Even though the blade angle was really steep and the skew was off. I went ahead and sharpened it as it was. I should have reshaped the edge correctly, bevel and skew, as I would eventually have come back to correct this issue.

bothblades

It was a huge bite but still, it was much closer to square than I thought it would be.   This thing is amazing.

therebate


The final product

final

Notice how well the new wedge fits in after all the dirty hands!

After a day I came back and properly reshaped the skewed iron and here she is:

Thanks

Again, please check the video over on my youtube channel here, subscribe like and comment!

Clean Phil


Clean Phil Wanted | Yes we are back at the woodworking… and coding… headshots… and…

 Yes we are back at it!

It’s been a while but we are back it.  All the woodworking and coding and photography and cooking… all of it.

We had to take a bit of a break to focus on ‘us’.  Not that we are having issues but our landlords were.

We had to move

I’ll keep this short.   I’m glad we had it, amazing views and about 9 houses away from where Sir Peter Jackson grew up. If you watch the movie, ‘Bad Taste’, you’ll understand the scenery. It’s all in walking distance.

Anyways, the landlords bought a house a few miles north of the rental property and soon realized that the old property had to go. So we had to go as well.  It was a bit of an emotional roller coaster but I always stick with family comes first so I can’t fault them (too much).  In the end, it is what it is.

So we found a new place

The average house price in Auckland was over a million last year with some areas having property increases of 29%+ a month in the surrounding areas.  Frankly, I would never want to live in Auckland even though I could find work more easily there, it’s a complete mess.  We would like to stay here longer than our visa will allow but until we have residency we don’t plan to buy anything. So we started looking for rentals that will take Ned.

Eventually, Jill found Chris and Joanne. Thank goodness for that, they are a lovely couple and just as ‘Kiwi’ as you would want. City folk who own a farm, are outdoorsy and unbelievably friendly.  The couple had bought a house with bright orange and yellow walls with green trim.  So, Jill and I moved into, ‘The Pumpkin Bach’. (Bach in New Zealand is pronounced ‘batch’).

The garag-errmm workshop!

It isn’t that big but I broke it in.  I needed a desk and here it is.


This is the first video of it:

And here is the second part of it:

I do have a sketchup file for it with ‘rough’ dimensions that I will get up soon.  There will be another sketchup file for A-frame clothing rack since I needed that cleaned up for working out this new build.

Obviously you can check out all the other projects on my channel over here!

What else has been going on?

I’m still on the hunt for a job over here. I’m not willing to apply to everything under the sun. I want something that suits me and I’d be happy doing. Those are the jobs I’m applying for.

I spent some time sprucing up the linkedin page with a nice self portrait I took in the new garage.

I also figured I should put my face in for any extra work in movies or what-not.  So I’ve been working on some head shots.  Helps that I am a graphic designer/dev that spent a quarter of my classes in the photo lab.

I’ve also been spending time coding.  I have strong skills here and I don’t want them to atrophy so I’ve been starting to do ‘coding challenges’ from the Youtube channel ‘The Coding Train’. If you ever wanted to code this guy is a good teacher – over enthusiastic and a knuckhead(meant with respect) but very good.  I

I’ve started posting them on this site and github so they are blogged about.  You can check them out in the nav above OR here!

Conclusion

I’m not sure that the frequency of video posts will be weekly as they were before.  They also won’t be as silly as some of the previous ones (wine box holder).  I plan on making multiple episodes for larger projects for many reasons.  But for now – we are back!

Thanks,

Clean Phil Wanted

The Trouble with Trivets! Two different designs.

The Trouble with Trivets!

We rent the house that we live in so I’m wary of doing anything that would damage it.  The counter tops aren’t all that spectacular but I still have zero interest in damaging them.  I also need to be use that surface for pots and pans from the stove.  So a couple of trivets are in order!

The designs

I used two different designs. One is super simple as it’s just two sticks. Jill and I have seen an number of this design in hotels in New Zealand.  I really like them and they tend to sit on slightly uneven surfaces well.  The loose half-lap joint for them makes them easy to throw together and throw aside.

The second design is one I like a lot and wanted to try with hand tools for a while.  I didn’t sharpen my chisel before doing this and I think that had a huge part in the rough walls of the grooves/dados. While I think this one turned ok and it is very usable. It’s not pretty at all.

image of two trivets
These are the two trivets that I made this week.

How they were made

Please check out video on my Youtube channel here.  Let me know how you would approach making this trivet.


I’ll probably make a number of the simple ones and add some carvings too them. I may try the second one again in the future but with all the dadoing and grooving I can’t see it being a short build. I may try to used a plow/plough plane to create the structure and wrap that with some edging.  Or I may just make something more ‘hobbit-y’ since I’m living in New Zealand now. Though there will be no furry feet.

Thanks for checking it out, subscribe, comment and like!

clean phil


Making my Carving Mallet without a Lathe

Once Upon A Carving Mallet

“Once upon a time there was a guy with a mullet who wanted to make a carving mallet, with his bare hands…”, Jill just said.  She’s right, I’ve been wanting to make a decent, or better, carving mallet then the one I made a few months back.

One of the things I made sure I brought with me from the US to New Zealand was Peter Follansbees 17th century carving video.  Granted, I didn’t realize I could just buy it online back then, which you can now.  And when I knew work was drying up with my last employer in the US. I threw in the money to get a good set of carving chisels you could hit with a mallet.  I probably would have bought these flexcut chisels years ago if I knew they were made only 2 hours away from where I was living. Heck, I probably would have tried to get a job there.

The wood, Kowahi:

A piece of pine firewood was used for the previous carving mallet and it was crudely shaped but comfortable. I actually like the dents/distress that pine gets on it.  Still, I knew that something heavier would be a 100 times better to use. So when a couple of people that Jill knows offered a tree to me I jumped at it.  Now, I’m not one to go cutting a tree down in the woods, hurt or not. This tree was a decorative tree in a garden that lined a driveway and was hit by a moving van a few years back. When the husband of the house walked out to show  me the tree he grabbed it with one hand and pushed it over. The root ball and all came with it.  Half of it was dead the other half wasn’t budding.

My lathe is in the middle of Pennsylvania so I went at this with a drawknife, spokeshave, some whittle knives and sandpaper.  It turned out pretty nice and wow am I pleased with the weight of this thing. It makes a massive difference.

carving mallet image
This is the carving mallet I made this week

Here’s the video!

You can find the video and others like it over at my Youtube channel:  https://www.youtube.com/c/cleanphilwanted

Or watch the video of it right here!

Thanks!

CPW


Cheeseboard build – A one board, one day project

The Cheeseboard

I am still uncertain if it’s “cheeseboard” or “cheese board”. The first one is what the dictionary had in it so I’m sticking with that for now.

It wasn’t on my list of things to make. After watching Jill and the bread cooling rack from last week (here), I knew she’d really want a cheeseboard to match. So, while she was outside working on the weeds I went to the garage and made the decision to go slow and go accurate.

Here’s the video!


It started with a 3.5 inch board about 47.5 inches long. Re-sawing the strips from it until I had enough, I aimed for straight cuts.  I did pretty good when I focused on as little pressure downward as I could. This is the way I use my backsaws and they usually end up right on. Practice should perfect this, though I’ll still be making a frame saw later on.

I laminated the pieces together and let it set for an hour. There was little glue squeeze out so I’m getting better at judging glue needs. Then I made the tongue and groove joints. I went real slowly with this to make sure I got the fit correct.  In time I’m sure I’ll be able to do this much more quickly. For the tongue, initial 3/16ths could have been removed much more quickly. I was just more concerned with crisp lines. The joints turned out better than I expected. Though not perfect so there is still plenty of room for improvement.

The thing I love most about hand planes is the thing I love least about woodwork, sanding.  Usually a hand plane finish is too smooth for a lot of finishes to stick to. You have to actually sand it so you can finish it, which means lightly sanding.  I did my usual shellac finish and will need to get more supplies to do better ‘french-ish’ style finishing.

Side note, I did finally find a store that had shellac flakes! Funny part was NO ONE even in the store knew what it was (or where it comes from). I got to educate them!

Anyways, a video is on it’s way.

Thanks,

phil

[quads id=”2″]